Picture this: you fire your gun in your game, but the bullet sails right through the enemy. Or worse, that guard spots you through a solid wall. Frustrating, right? These glitches kill immersion fast.
Raycasting fixes it all with a simple trick. You shoot an invisible line from your weapon or enemy eyes. It checks what it hits first. No more phantom misses or x-ray vision. Players get realistic shots and smart AI that hides behind cover.
This post shows you how. You’ll learn the basics first. Then build shooting that lands every time. Next, add line-of-sight for clever enemies. Finally, dodge common pitfalls. You’ll code this in engines like Unity or Godot. Let’s make your game feel pro.
Grasp Raycasting Basics Before Coding Your Game
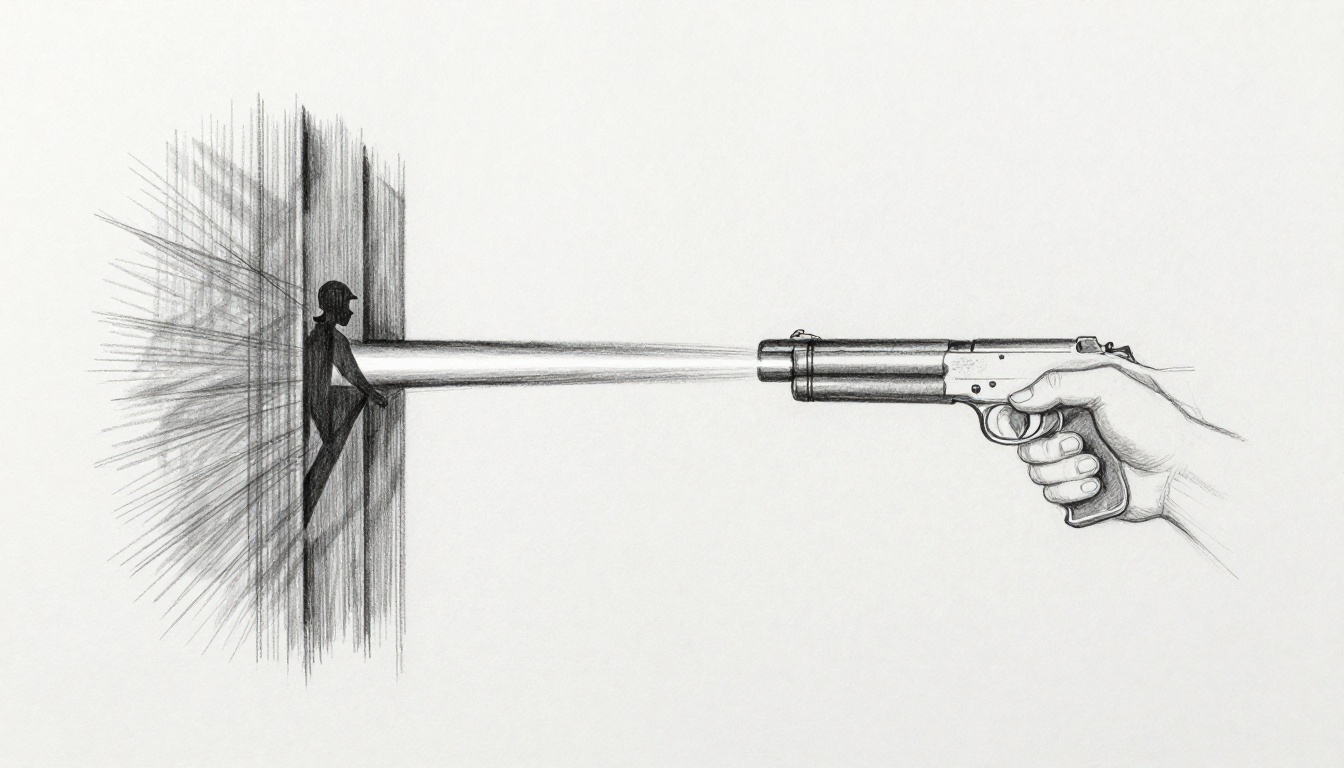
Raycasting works like tossing a straight string across a room. It stretches from a start point in one direction until it bumps something. That bump tells you what got hit and where. Simple, yet powerful for games.
Start with the origin. That’s your launch spot, say the tip of a gun barrel. Next comes the direction. Point it where the player aims, like toward the mouse cursor. Set a max distance too, so it stops at bullet range. When it hits, you get details: the exact spot, the object, and its surface normal.
Think of it as a fishing line. You cast from the boat toward a fish. If it snags a rock first, no fish dinner. Games use this math every frame. Most engines have it built-in. You just call one function.
For example, pseudocode looks clean:
ray origin = gunTip.position
ray direction = camera.forward
ray distance = 100 units

hit = Physics.Raycast(origin, direction, distance)
if hit:
    print("Hit " + hit.object + " at " + hit.point)
This checks collisions fast. No need to simulate real bullets yet.
Key Parts of a Raycast You Need to Know
Break it down further. Origin sits at the gun muzzle for third-person games. In first-person, use screen center converted to world space.
Direction comes from player input. Mouse look sets it naturally. Keep it normalized, a unit vector of length one.
Distance caps the check. Bullets drop off, so 50 meters makes sense for rifles.
Results pack info. Hit point gives the impact spot for effects. The collider tells which enemy or wall. Normal vector points outward, perfect for bullet decals.
Like a laser pointer in fog. The beam stops at the first wall. You know exactly where.
Pseudocode Example to See It in Action
Here’s a full snippet to grasp it:
function ShootRay():
    Vector3 origin = weapon.muzzle.position
    Vector3 direction = input.aimDirection.normalized
    float maxDistance = 200.0

    RaycastHit hitInfo
    if (Physics.Raycast(origin, direction, hitInfo, maxDistance)):
        if (hitInfo.collider.tag == "Enemy"):
            hitInfo.collider.GetComponent<Health>().TakeDamage(25)
        DrawImpact(hitInfo.point)
    else:
        // Missed, maybe add tracer effect
Each line sets up, casts, and reacts. Test it in an empty scene. Fire at cubes. Watch hits register. Confidence builds quick.
Build Shooting Mechanics That Actually Land Bullets
Shooting feels off without raycasting. Bullets curve wrong or phase through foes. Raycasting makes hits instant and true. Set it up step by step.
First, grab player input. On mouse click or trigger pull, launch the ray. Use the weapon barrel as origin for accuracy. Screen center works for hitscan guns like lasers.
Ignore your own body with layers. Hit enemies or props only. Apply damage via a script on the target.
Add polish. Spawn muzzle flash at origin. Draw a line tracer to the hit point. Screen shake sells recoil.
Test in a busy level. Shoot walls, then peek enemies. Tweak distance for weapon types.
- Bind input to fire event.
- Position ray origin and direction.
- Cast and filter results.
- Trigger effects and damage.
- Debug visuals for tuning.
This setup scales to pistols or snipers.
Position the Ray Right from Your Weapon
Origin matters most. For pistols, place it at the model muzzle. Transform.position gets it spot on.
Direction follows aim. In FPS, camera.transform.forward points true. For hip-fire, blend with body rotation.
Math stays simple. If mouse hits screen at (x,y), unproject to world ray. Engines handle this.
Example: origin = barrel.position; direction = (targetPoint – origin).normalized;
Aims perfect every time.
Fire the Ray and Handle What It Hits
On fire input, cast it. Get the closest collider in range.
Check tags or components. “Enemy” gets damage. “Barrel” sparks fire.
Send damage like this: target.health -= 30; if zero, explode.
Add force for ragdolls. Hit.rigidbody.AddForce(direction * 500);
Feels punchy.
Debug by Making Rays Visible on Screen
Rays hide by default. Draw them to spot issues.
Use gizmos in editor. OnDrawGizmos: Gizmos.DrawRay(origin, direction * distance);
In play mode, LineRenderer from origin to hit.point. Color it red for hits, yellow for misses.
See why shots clip walls. Adjust origin forward a bit. Fixed in minutes.
Add Line-of-Sight So Enemies Play Hide and Seek Smartly
AI acts dumb without sight checks. Enemies charge through doors blind. Raycasting lets them peek smart.
Cast from enemy eyes to player feet. Hit nothing or the player? They see you. Alert state triggers.
Update every 0.2 seconds, not every frame. Saves CPU.
Combine with cones for peripheral vision. Ray to center, then edges.
Cover shooters shine here. Foes duck behind crates until clear shot.
Block floors with layers. No seeing downstairs.
Set Up LOS Rays from Enemy Eyes
Origin at head bone or eye transform. Predicts peeks better.
Direction to target.transform.position. Feet avoid headshot blocks.
Pseudocode:
if (Time.time > nextCheckTime):
    RaycastHit hit
    if (!Physics.Raycast(eyes.position, (player.pos - eyes.position).normalized, hit, sightRange) || hit.collider == player):
        state = "Alert"
    nextCheckTime = Time.time + 0.2f
Reliable and cheap.
Block Views with Walls and Other Cover
Layers filter junk. Mask to world static only. Ignore bullets or effects.
Thick walls catch rays easy. Thin ones? Offset origin inside enemy slightly.
Transparency? Raycast twice, once for opaque.
Real cover feels earned.
Keep Sight Checks Fast and Responsive
Throttle to 5 times per second. Fine for most games.
SphereCast widens the beam for “mostly sees.” Catches glancing views.
Link to AI mode. Patrol checks slow; chase verifies constant.
Smooth patrols emerge.
Dodge Raycasting Traps and Speed Things Up
Rays glitch sometimes. Thin walls let them slip through. Too many lag frames.
Fixes keep it snappy.
Wrong layers hit self. Infinite distance crashes loops.
Batch casts in jobs for big fights.
Shorten ranges. Pool results.
Multiplayer? Sync hit points server-side.
Spot issues early.
Master Layers and Masks to Hit Only What Matters
Layers sort objects. Enemies on layer 8, walls on 10.
Masks pick which to test. Like “hit 8-12 only.”
In code: layerMask = 1 << enemyLayer | 1 << wallLayer;
Precise. No friendly fire.
Tune Performance for Busy Battle Scenes
Cap rays at 10 per AI per second. Prioritize close threats.
Short distances cut work. 50m max usually.
Test on phones. Profile shows spikes.
Async jobs offload to threads. Smooth 100 foes.
Your battles run crisp.
Raycasting transforms shooting and AI with little code. Bullets hit true. Enemies play smart behind cover. Start small: add it to one gun, one foe. Tweak ranges and layers. Your game levels up fast.
Try it today. Fire rays in your scene. Share what breaks first in comments. What next, recoil physics or netcode hits? Subscribe for those tips. Build better games now.