You grab your favorite 3D software. You dive into modeling detailed walls, lights, and props right away. Hours pass. Then you playtest. The layout feels off. Jumps miss the mark. Paths drag on. Sound familiar? Most beginners waste days this way.
Greyboxing changes that. You build rough levels with basic grey blocks. These simple shapes let you test geometry, scale, and flow first. Art comes later. This method saves time and frustration.
In this guide, you’ll learn what greyboxing means. You’ll see why it boosts your projects. You’ll pick tools that fit beginners. Follow a five-step workflow for your first greybox. Dodge common traps too. By the end, you’ll save hours on your next game. Let’s jump in.
What Is Greyboxing and Why Bother with It?
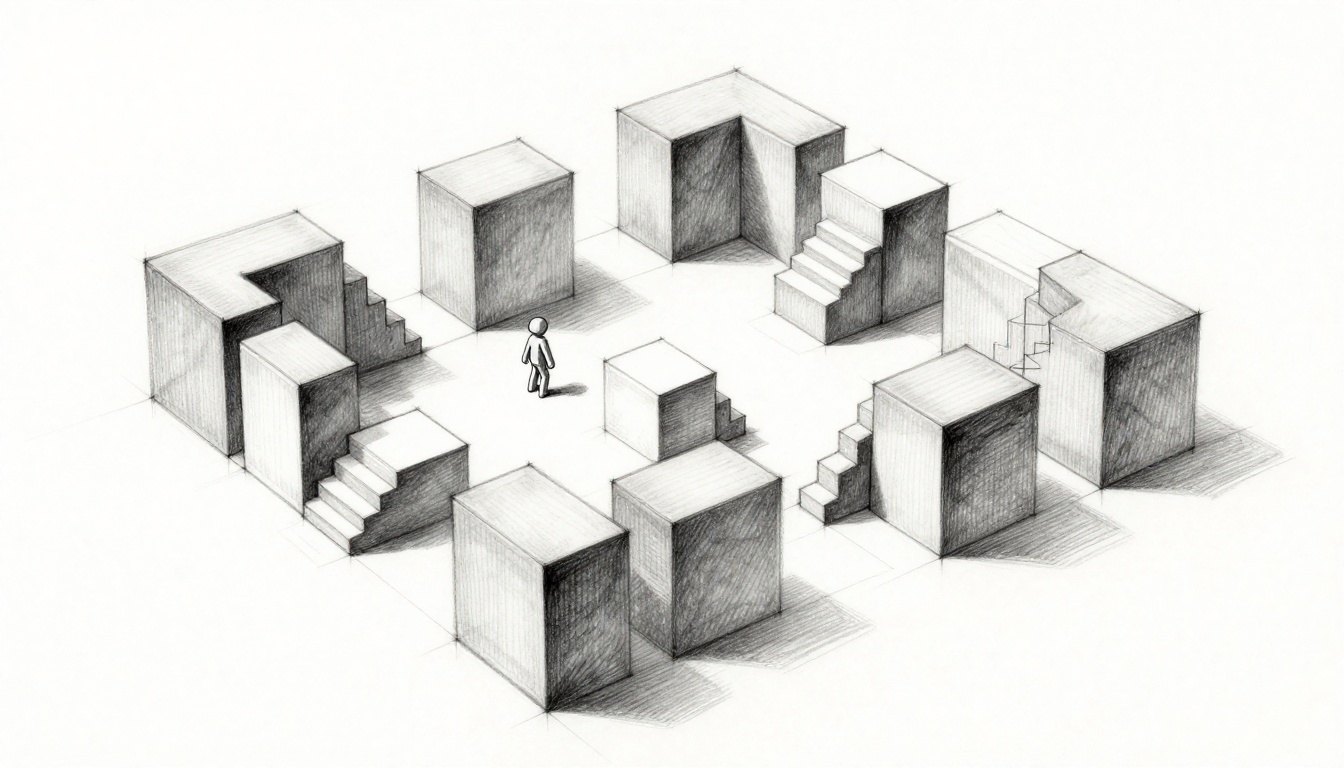
Greyboxing means you create a rough prototype of your level. You use basic shapes like cubes and cylinders. All in a plain grey color. No textures. No lights. No fancy models. The goal stays simple. Test the core geometry and player movement.
Think of it like drawing a house blueprint before you paint walls. Architects sketch rooms and doors first. They check if traffic flows well. Only then do they add colors and furniture. Game devs do the same. You focus on shape, size, and paths.
This practice started in old studios. Teams at id Software used it for Doom levels. Indies picked it up too. Today, most pros greybox. It keeps eyes on gameplay, not visuals. Terms like BSP trees pop up sometimes. Those split space for collision. But you don’t need deep math yet. Just stack blocks and walk around.
Why bother as a beginner? Changes happen fast with blocks. You resize a room in seconds. No redo on art assets. Plus, it builds solid levels from the start. Skip it, and you’ll rework everything later.
The Big Wins: How Greyboxing Saves Your Sanity and Speed
Greyboxing speeds up your work. You iterate quicker because blocks move easy. No asset swaps slow you down. Spot issues early, like cramped halls or dull open areas. Teams collaborate better too. Everyone sees function first, not pretty styles.
It cuts costs. Art redos hurt budgets. Greybox first, and you avoid them. Players get better flow as a result. Combat feels tight. Exploration stays fun.
Take Doom. Devs greyboxed arenas. They tested jumps and cover spots. That led to classic levels. You can do the same on your project.
Catch Flaws Before They Ruin Your Game
Playtests reveal problems fast. A hallway seems fine on paper. Walk it, and it drags forever. Shorten it by half. Now pace picks up.
Poor jumps show up too. A ledge looks climbable. Test it. Too steep. Flatten the ramp. Dead ends trap players. Add a side path instead.
Get friends to test early. Note their gripes. Frustrations like unfair drops vanish before art hides them. This step keeps your game solid.
Build Better Flow Without Fancy Graphics
Boxes test paths well. Place them for cover in fights. Check sightlines from corners. Does the enemy spot you too soon? Adjust walls.
Time your runs. A room takes 30 seconds? Good for tension. Track fun ratings too. Players smile at good flow.
Film uses whitebox pre-vis like this. Same idea. Metrics guide tweaks. Flow improves without graphics distracting you.
Essential Free and Paid Tools for Greyboxing
Start with free options. Blender works great. Its modeling tools block out rooms quick. Add the Extra Objects addon for primitives.
Godot offers built-in shapes. Unreal Engine’s free version shines for FPS. Use BSP brushes to carve space fast. Unity pairs with ProBuilder. Edit blocks right in engine.
Paid tools include Hammer for Source games. Maya handles complex blocks. But free ones suit solos best.
Unreal speeds FPS levels. Brushes subtract from a big box. Blender exports easy to any engine. Unity keeps edits in place. Pick based on your final engine.
Start Simple with Blender or Unity
Blender fits solos perfect. Open it. Add a cube. Extrude for walls. Scale to real size. A door hits 7 feet high. Done in five minutes.
Unity’s ProBuilder shines too. Install the package. Drag cubes. Snap them together. Edit vertices live. Playtest in seconds.
Both import to your main engine smooth. No learning curve kills your flow.
Your First Greybox: A Simple 5-Step Workflow
Build a warehouse level. Big open space. Side rooms. Crates for cover. Start rough. Iterate often. Use real refs for scale. A door equals 7 feet. Player height stays 6 feet.
This workflow takes an hour first time. Soon, minutes.
Step 1: Sketch on Paper Then Block Major Rooms
Grab paper. Draw top-down view. Mark main rooms. Note entry points.
Jump to software. Drop floor cube. Extrude walls. Set player speed. Walk the space. Big areas first.
Step 2: Add Doors, Jumps, and Cover
Cut door gaps. Add ramps for height changes. Stack boxes for ledges. Place cover cubes in corners.
Vary paths. High routes. Low crawls. Keeps it fresh.
Step 3: Playtest Relentlessly and Measure
Walk every path. Time sections. Note slow spots. Frustrations build lists.
Use bots if your tool allows. Watch AI paths. Fixes come quick.
Step 4: Tweak and Repeat Until It Feels Right
Resize based on notes. Shorten drags. Widen squeezes. Repeat tests.
Stop when fun hits without art. Flow feels natural.
Step 5: Export Ready for Art Polish
Bake basic lights. Export meshes. Import to main engine. Match scales exact. No rework needed.
Beginner Traps to Skip for Smoother Greyboxing
Over-detail early kills speed. You add props too soon. Geometry suffers.
Ignore scale, and levels feel wrong. Always measure against real life.
Skip playtests. Your eyes lie. Friends spot blind issues.
Engine habits lock you in. BSP in Unreal differs from meshes in Unity. Learn basics first.
Perfectionism stalls you. Good enough greyboxes win. Move to art.
Don’t Get Hung Up on Looking Pretty Too Soon
Colors distract. Stick to mono grey. It highlights shape flaws.
Add one texture? Now you tweak art with every change. Waste.
Grey keeps focus sharp. Polish later.
Fixes build confidence. Your levels improve fast.
Greyboxing tests ideas cheap. You catch flaws early. Flow shines without art costs. Tools like Blender make it easy. Follow the steps. Tweak till it clicks.
Try it on your project now. Block a simple room today. Share your first greybox in the comments. What surprised you? Subscribe for tips on playtesting next. John Romero said it best: “Playtest early and often.” Your games will thank you.